
Hello, World Using Gridsome + Netlify Functions (Serverless)
PublishedFeb 24th, 2022

Back at it again with a little nugget I figured I’d share with the world (Hello, World. Pun intended). Right, so today I was acquainting myself with Netlify Functions — and since I’m here doing this already — and not seeing any others like it on Google Page 1…
I will step up.
For the uninitiated, serverless functions are functions that some third-party server holds onto and executes for you whenever you hit said function’s endpoint.
Still don’t understand? Took me a lil’ bit too. Try reading Netlify’s Functions Docs.
But let’s get to it.
Fire up your terminal and navigate to your projects directory (or a temp directory if you’re gonna trash this after).
If you don’t have Gridsome-CLI installed yet — do that now:
Yarn
yarn global add @gridsome/cli
NPM
npm install — global @gridsome/cli
Now from your terminal from within your projects directory run:
gridsome create grid-net-func-hello
Of course name your project whatever you’d like.
cd grid-net-func-hello
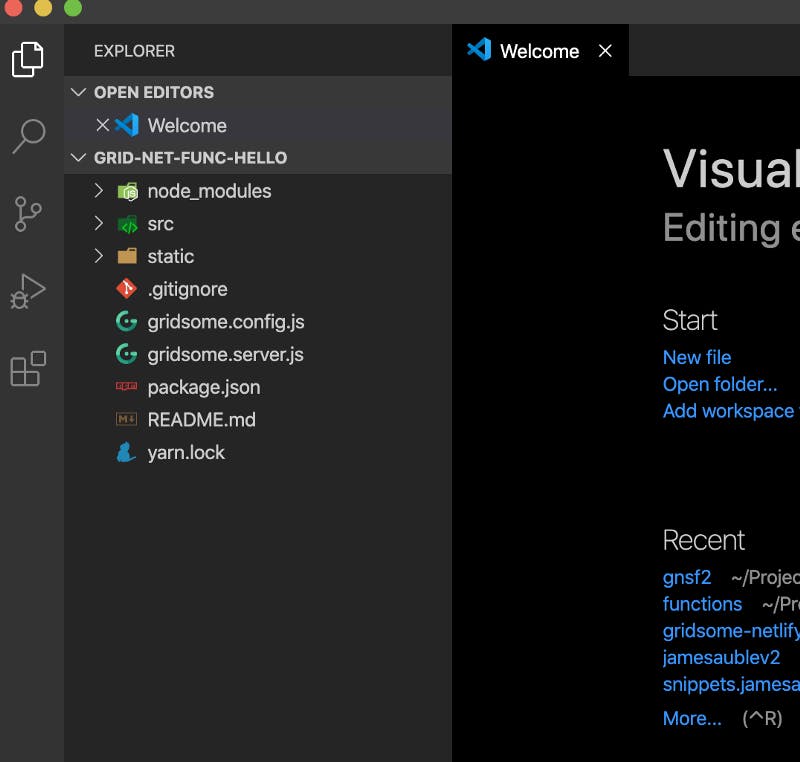
Your Gridsome project directory should look like the above screenshot.
Let’s spin up the built-in development server.
gridsome develop
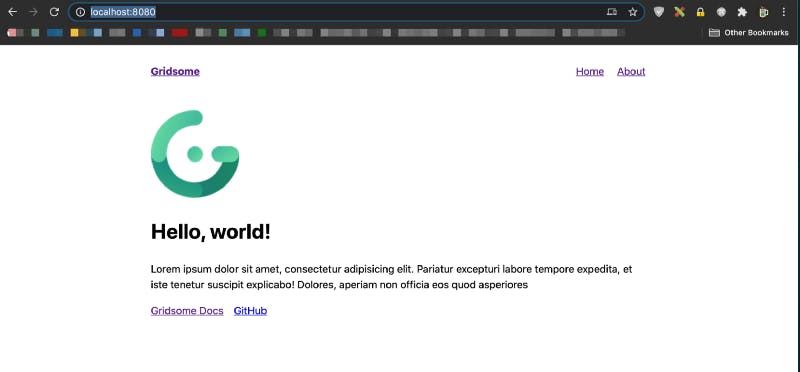
If you pull up localhost:8080 in your browser now you should see this:
Create a repository for this project in either Github, Gitlab, or BitBucket. This is what Netlify says it supports.
Initialize your project with Git locally and commit your work to your remote repo. If you need help with that, this article looks pretty decent.
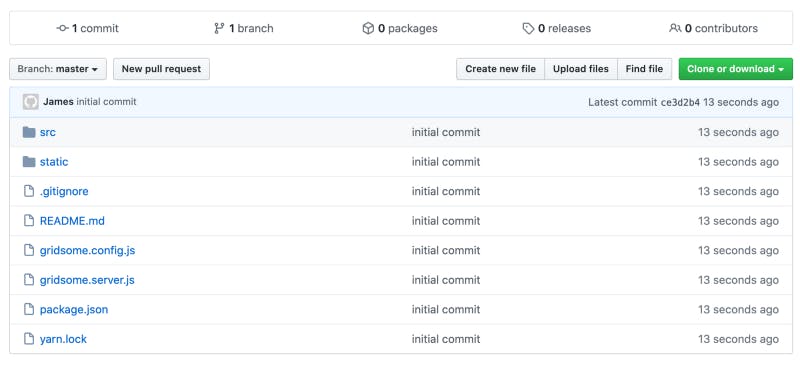
The root directory of your remote repo should now look like this:
Head on over to Netlify and create an account if you havn’t one already.
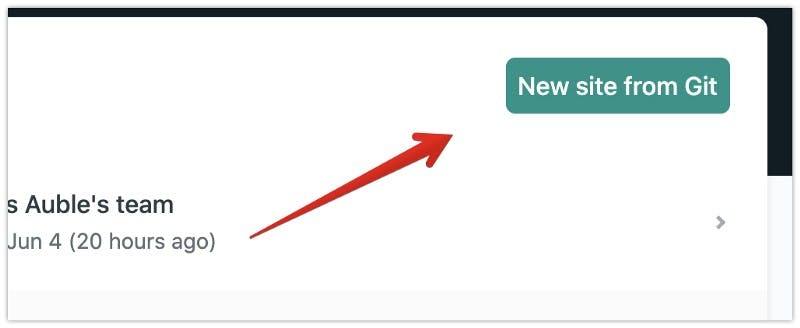
Click on your Git platform — find your repo for this project and select it.

Netlify will generate a site name for you along with a host URL once it’s done building your site.
After a minute or so you should see something like the following:
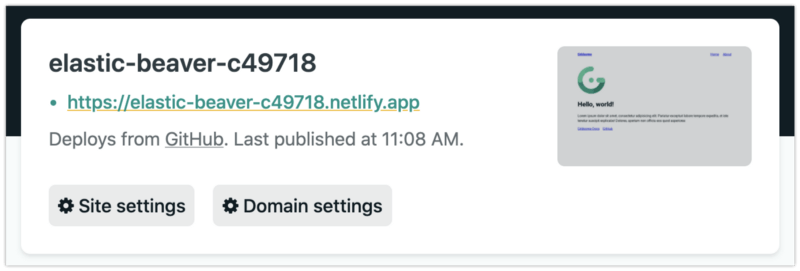
Go ahead and click on the link to your new site and you should see the Hello, World Gridsome page.
To ensure that our development environment behaves like our live site we’re going to use Netlify’s handy CLI tool.
We’ll be using this tool to proxy our live site and the serverless functions that are live — so that when we make a call to an endpoint of /.netlify/functions/hello it looks at localhost:8888/.netlify/functions/hello which in turn looks at our live site. Did that make sense? No? Yes? If not, try reading the docs.
Enough babble. Let’s get on with it.
Okay — so install the Netlify CLI globally with
npm i -g netlify-cli
Next, create a netlify.toml file in your project root that will be used by Netlify-CLI and specify the build directory and the directory where you will store your serverless functions.
You ready to create our serverless function? Buckle in and run
netlify functions:create
You’ll be given a list of function templates you can use — we’ll be using the [hello-world] function.

Hit enter again to accept the default name.
You should now have a directory /fucntions/hello-world/ with index.js in it containing our serverless function.
Commit and push our changes to our remote repo.
What’s this? You just got an email from Netlify?? They’re really on top of things aren’t they.
Yep. They detected that you committed a serverless function in your /functions/ directory as defined in the netlify.toml that was read by Netlify on this most recent build.
We’re really cruising now aren’t we?
Now go back to your browser and open up your Netlify Dashboard. Make sure you’re looking at the site we just created a few minutes ago and click on functions.
Whoa — check that out — a function!
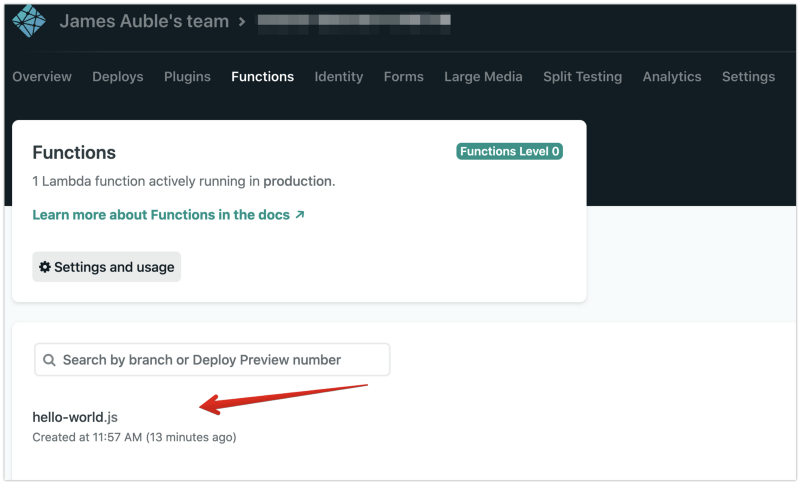
Click on it and you’ll see the endpoint and the function log. Copy that endpoint and paste it in a browser. You should see some JSON printed out on the screen with a "message" key with a "Hello World" value.
Head back to our terminal and this time fire up the Netlify dev server with
netlify dev
It’ll take slightly longer than gridsome develop to spin up because it’s talking to Netlify in the cloud for a second and proxying.
Now — instead of pulling up localhost:8080 in the browser, we’re gonna pull up our proxied site which lives at localhost:8888.
Back to our editor — open up /src/pages/Index.vue. Where you see
<script>
export default {
  metaInfo: {
    title: 'Hello, world!'
  }
}
</script>
Replace it with
<script>
export default {
  metaInfo: {
    title: 'Hello, world!'
  },
  mounted() {
   fetch('/.netlify/functions/hello-world')
   .then(
     res => res.json()
   )
   .then(
     res => console.log(res.message)
   )
  }
}
</script>
Refresh localhost:8888 and pull up the devtools console. You should see Hello World printed out.
How about instead of just printing Hello World to the console, we take a query param — run it through our serverless function and update our front end? Just for fun.
Okay — replace the H1 in your Index.vue template with
<h1>{{ greeting || "Hello World" }}</h1>and in the Javascript part of the file replace with this
<script>
export default {
data() {
return {
greeting: null,
name: null
}
},
metaInfo: {
title: 'Hello, world!'
},
mounted() {
if (this.$route.query.name) {
this.name = this.$route.query.name
}
fetch('/.netlify/functions/hello-world?name=' + this.name)
.then(
res => res.json()
)
.then(
res => {
this.greeting = res.message
}
)
}
}
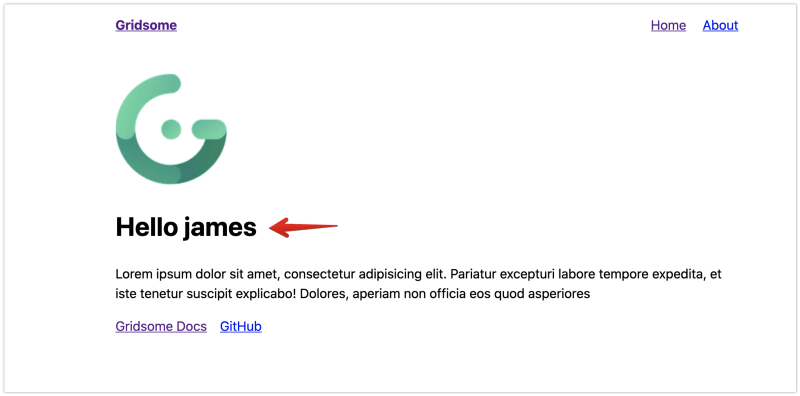
</script>Now if we head back to localhost:8888 in our browser and enter
http://localhost:8888/?name=james
We should see it output on our front end like this
Note: If you don’t have the Vue Devtools installed yet — you should probably get on it! Download here.
Hope all worked out well, if not leave me a comment and I’ll be sure to respond.
Code on web assassins!


