
Getting Started With Flex Objects in Grav CMS
PublishedJul 30th, 2022

If you've found your way to this article, odds are you're already familiar with Grav CMS.
For the uninitiated, Grav is a Flat-File CMS which instead of using traditional databases like MySQL, Postgres, or MongoDB, Grav primarily uses YAML and Markdown for storing your page data.
That's enough to get the job done for many sites--but if you have data that doesn't really warrant a page and needs to be more dynamic in its creation, storage, and retrieval, Grav pages might feel like you're attempting to smash a square peg in a round hole.
Meet Grav's Flex Objects.
Grav's Flex Objects require Grav version 1.7+
Let's say we're building a site about cars. Maybe we'll have lots of different types of content--but for now we're concerned with entering a bunch of cars of various makes, models, and classes (Honda, CR-V, SUV).
You might be thinking "Can't I just use pages for this?"
You could. Maybe.
But then 1, You're locked into whatever hierarchy you create with folders/pages; and 2, your admin doesn't have a special place for this content to be managed. You'll have to navigate through the pages tree to manage data. Maybe not so fun?
Also, maybe we don't even need individual pages for each car. Maybe we'll just have pages for each car class (Ex. /SUV, /subcompact, etc...).
Defining our "blueprint" is where it all begins. Without a flex blueprint, you don't have a custom flex object (however if you're using the Grav Admin Plugin you're always using flex under-the-hood). If you're coming from Wordpress, you can think of a flex blueprint as registering a Custom Post Type in your Wordpress theme's functions.php (but they are by no means the same thing).
Flex Blueprints can be created in any blueprints directory within your Grav installation--but by default--the Flex Objects Plugin will look for flex blueprints in a blueprints subdirectory like <blueprints dir>/flex-objects/.
For this demonstration, let's just create our blueprint at /user/blueprints/flex-objects/cars.yaml. Create the file and paste in the following blueprint code:
title: Cars
description: Cars of various makes, model, and classes.
type: flex-objects

# Flex Configuration
config:
  # Administration Configuration
  admin:
    # Admin router (optional)
    router:
      path: "/cars"

    # Admin menu (optional)
    menu:
      list:
        route: "/cars"
        title: Cars
        icon: fa-car
        # Authorization to collection admin
        authorize: ["admin.cars.list", "admin.super"]
        # Priority -10 .. 10 (highest goes up)
        priority: 0

    # Admin template type / folder
    template: default

    # Permissions
    permissions:
      # Primary permissions
      admin.cars:
        type: crudpl
        label: Cars

    # List view
    list:
      title: model
      fields:
        make:
        model:
        class:

    # Edit View
    edit:
      title:
        template: "{{ object.model ?? 'Model' }}"

    # Preview View
    preview:
      enabled: false
      route:
        #template: '/plugins/flex-objects/directory:cars'

    # Data Export
    export:
      enabled: true
      method: "jsonSerialize"
      formatter:
        class: 'Grav\Framework\File\Formatter\YamlFormatter'
      filename: "cars"

  # Site Configuration
  site:
    templates:
      collection:
        # Lookup for the template layout files for collections of objects
        paths:
          - "flex/{TYPE}/collection/{LAYOUT}{EXT}"
      object:
        # Lookup for the template layout files for objects
        paths:
          - "flex/{TYPE}/object/{LAYOUT}{EXT}"
      defaults:
        # Default template {TYPE}; overridden by filename of this blueprint if template folder exists
        type: cars
        # Default template {LAYOUT}; can be overridden in render calls (usually Twig in templates)
        layout: default

  # Data Configuration
  data:
    # Object class to be used, allowing custom methods for the object
    object: 'Grav\Common\Flex\Types\Generic\GenericObject'
    # Collection class to be used, allowing custom methods for the collections
    collection: 'Grav\Common\Flex\Types\Generic\GenericCollection'
    # Index class to be used, works as a quick database-like lookup index
    index: 'Grav\Common\Flex\Types\Generic\GenericIndex'
    storage:
        class: 'Grav\Framework\Flex\Storage\SimpleStorage'
        options:
          formatter:
            class: 'Grav\Framework\File\Formatter\JsonFormatter'
          folder: user-data://flex-objects/cars.json
    search:
      # Search options
      options:
        contains: 1
      # Fields to be searched
      fields:
        - make
        - model
        - class


form:
  validation: loose

  fields:
    make:
      type: select
      size: long
      classes: fancy
      label: Make
      options:
          honda:
            value: 'Honda'
          toyota:
            value: 'Toyota'

    model:
      type: text
      label: Model
      classes: fancy

    class:
      type: select
      size: long
      classes: fancy
      label: Class
      options:
          suv:
            value: 'SUV'
          compact:
            value: 'Compact'
          subcompact:
value: 'Subcompact'At this point, after you reload the Grav admin, Grav is aware of your custom flex object. But, you won't see anything happen in the admin. This is because you have no yet enabled our Cars flex directory yet.
Let's do that now.
Navigate to Plugins > Flex Objects in the Grav admin and at the bottom you should see a list of available directories to enable/disable.

Click Enable and scroll up to the top and click Save.
You should now see our Cars flex directory show up in the Grav Admin menu on the left side of the page.
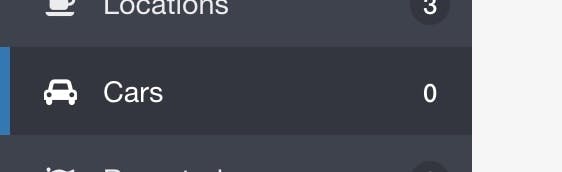
You can see there is a zero count for objects contained in the directory since we haven't created any yet.
It's time to put our custom flex directory to use.
Let's create few sample objects. Click on the new Cars flex directory menu item and click Add link and we'll be brought to the page for adding new Cars flex objects.
Note: These admin pages for flex directories and objects are referred to as "views" in the official documentation. Technically they are "views" but don't get caught up on the terminology. We'll just refer to them as admin "pages" in this demo.
Create a few sample cars with whatever model names you want to use. Because we defined the possible car makes and car classes in our blueprint, you're restricted to these from within the flex object creation page, but these could very easily be dynamically populated by a custom theme plugin by leveraging a property such as data-options@ along with a class and function as a value.
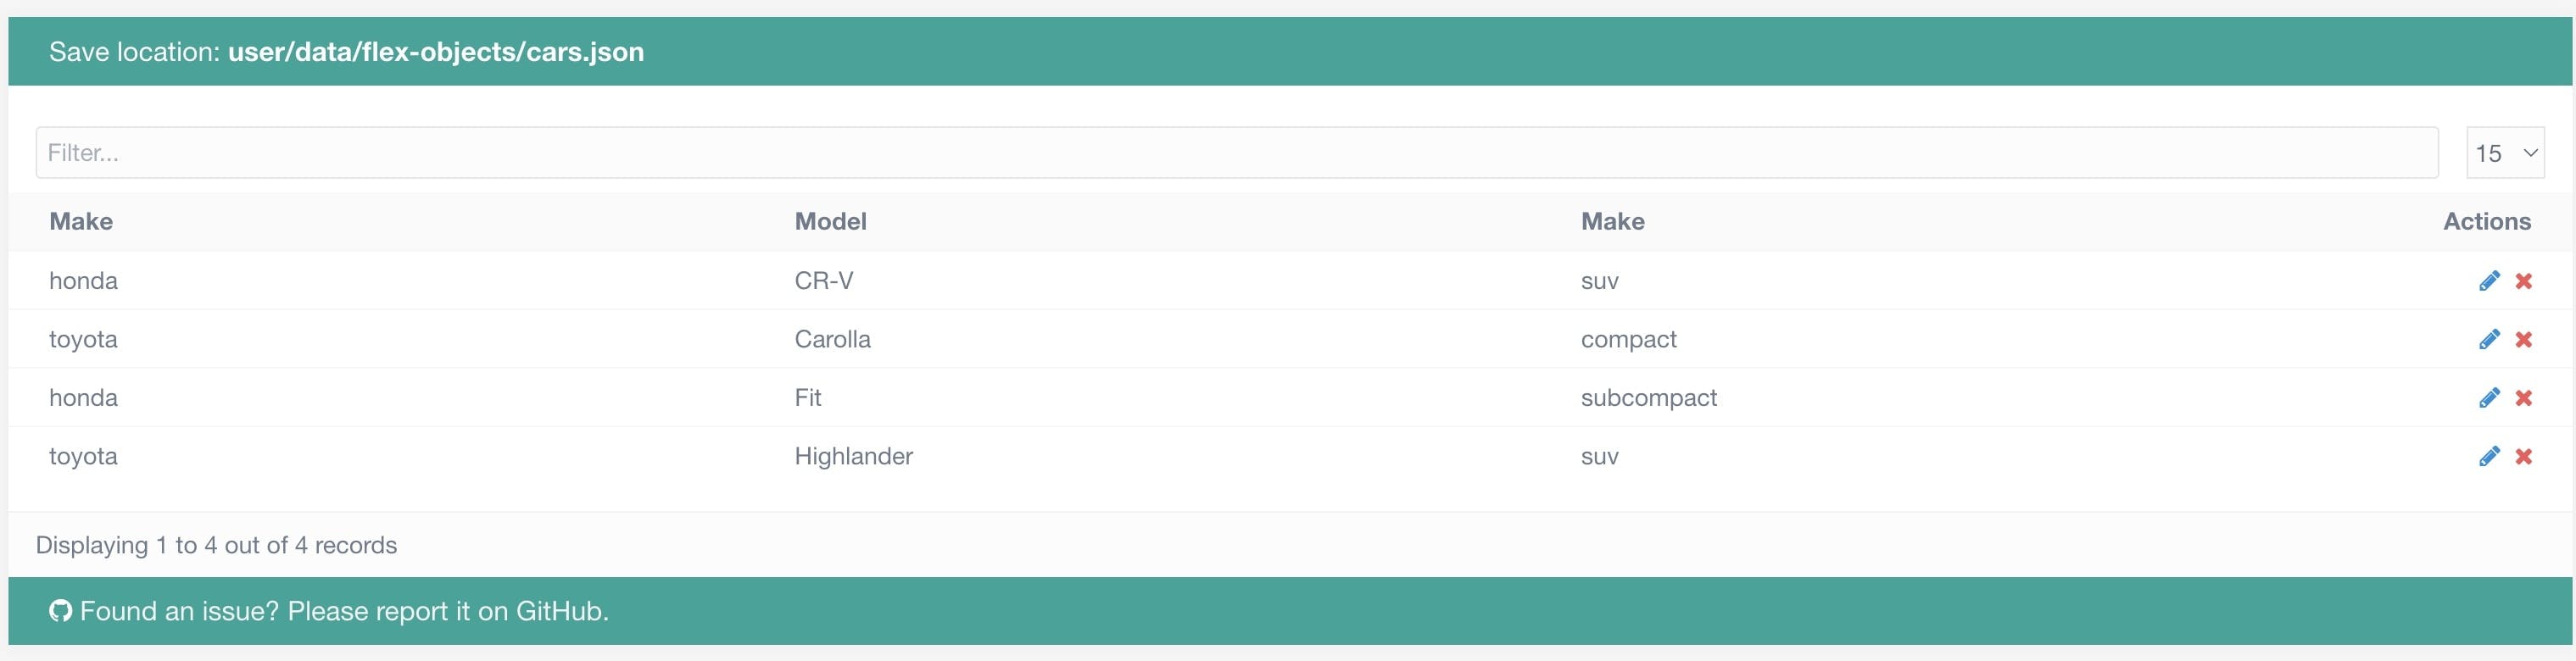
Great. We now have some sample cars objects, but we could probably improve the above pictured list (aka "list view") by ordering our objects by Make.
Let's do that now.
As you might have guessed, this is done within our Cars blueprint YAML file.
Go back into our blueprint file that we created at /user/blueprints/flex-objects/cars.yaml and add the following couple lines just below the storage: block like so:
...
storage:
    class: 'Grav\Framework\Flex\Storage\SimpleStorage'
    options:
      formatter:
        class: 'Grav\Framework\File\Formatter\JsonFormatter'
      folder: user-data://flex-objects/cars.json
ordering:
  make: ASC
...
Save your code and refresh the admin page that displayed our Cars flex objects and you should now see the objects ordered by Make.

You may have noticed that I forgot to properly label my cars' class field in the list images shown. I'm human.
It's time to see our Cars flex objects in action.
Let's first create page template called cars where we'll render all our cars.
In your theme, create a new file in the templates directory called cars.html.twig and paste in the following code:
{% set flex = grav.get('flex_objects') %}
{% set cars = flex.directory('cars') %}
{% set collection = cars.getCollection() %}
<ul>
{% for car in collection %}
<li>
Make: {{ car.make }} <br>
Model: {{ car.model }} <br>
Class: {{ car.class }} <br>
</li>
{% endfor %}
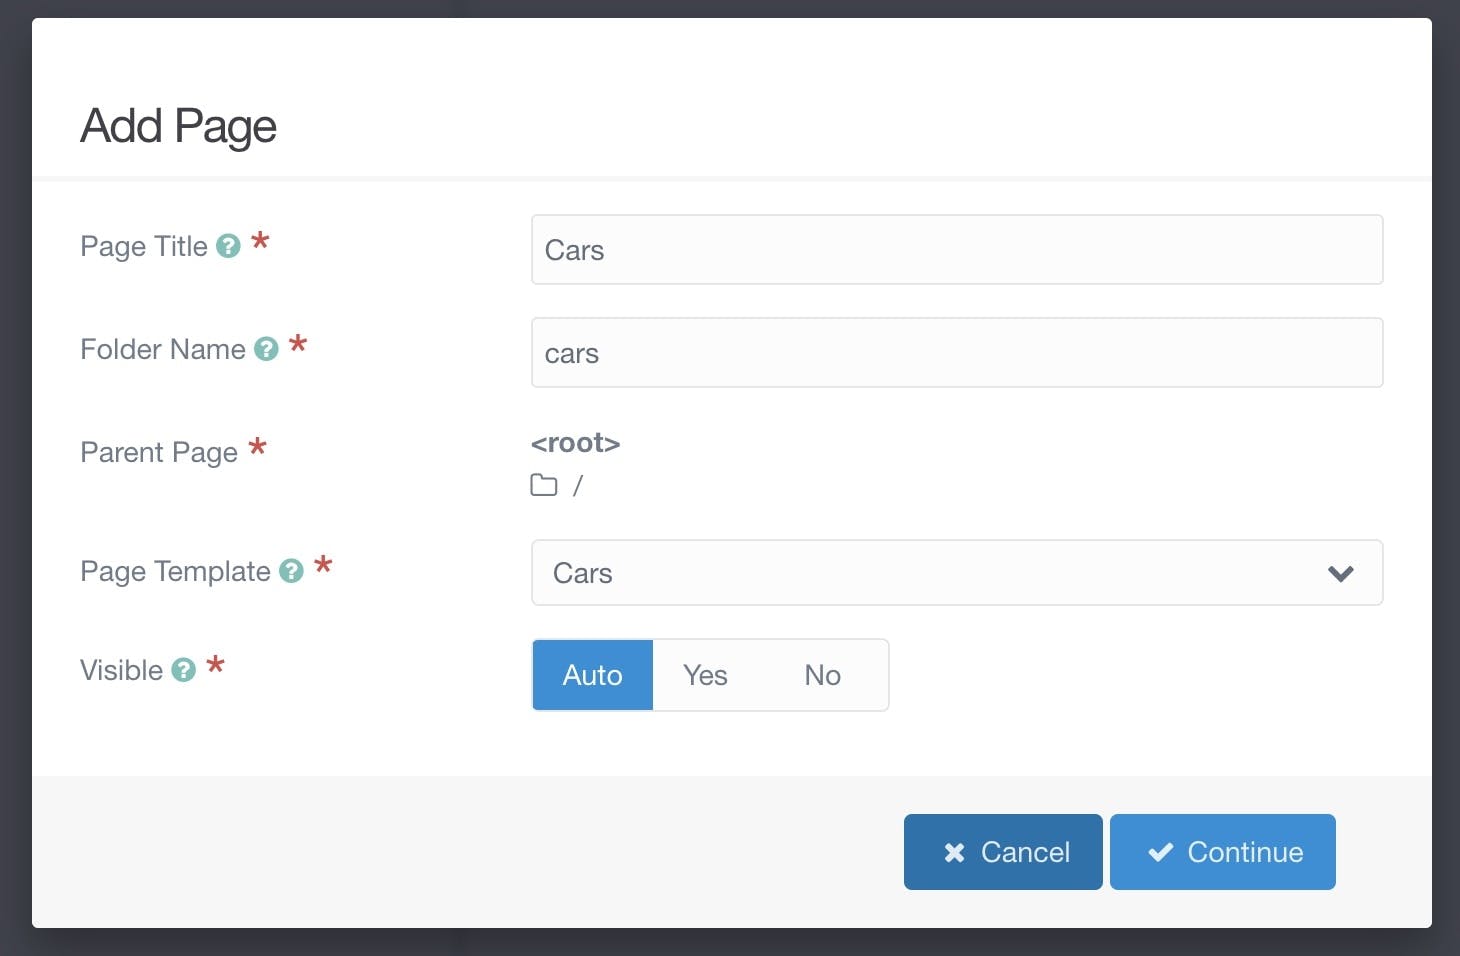
</ul>Now, within the Grav admin go to Pages and create a new page titled "Cars" and select our new Cars template from the dropdown and click Continue to create the page.
Save the page and navigate to your new page on the frontend of your site. You should a list of all your Cars flex objects.
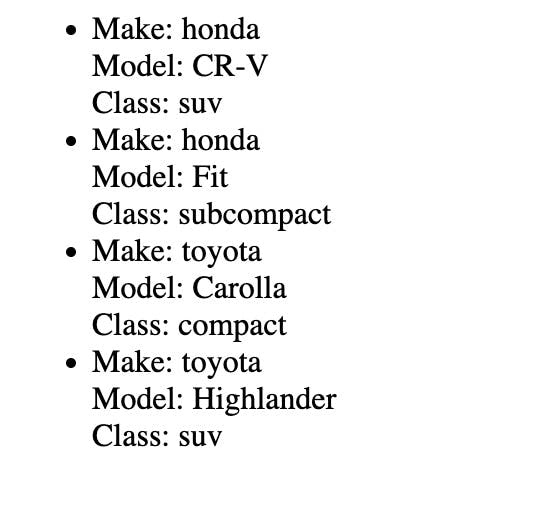
Cool. We're in business.
Now let's take advantage of a Flex Collection function to filter our cars objects to only show cars by a car's class.
In Grav, you can pass query parameter in the URI with in the following format:
https://<your-site>/<param>:<value>/
Normal query parameter format works as well in most places, but I did run into a situation where for whatever reason I could only get the <param>:<value> format to work.
Let's use a query param to filter our cars flex objects by car class by passing a class parameter.
First though, we'll need to update our template code for our /cars page. Replace your existing code in cars.html.twig with:
{% set flex = grav.get('flex_objects') %}
{% set cars = flex.directory('cars') %}
{% set collection = cars.getCollection() %}
{% if uri.param('class') %}
{% set collection = collection.filterBy({ 'class': uri.param('class') }) %}
{% endif %}
<ul>
{% for car in collection %}
<li>
Make: {{ car.make }} <br>
Model: {{ car.model }} <br>
Class: {{ car.class }} <br>
</li>
{% endfor %}
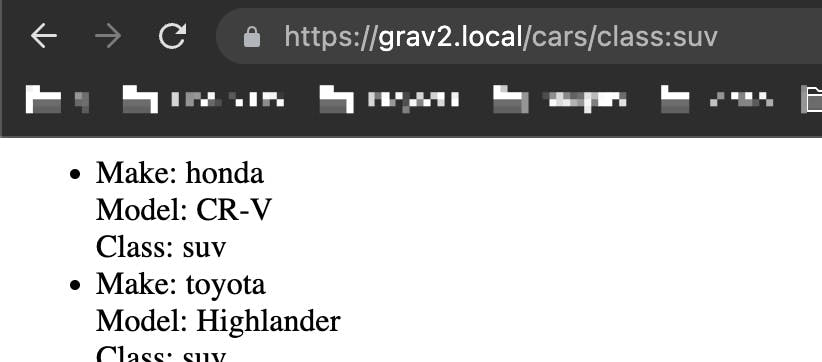
</ul>All we're doing is testing if a class param was passed--and if so--we leverage the collection.filterBy() function to return a collection that only contains cars with class we pass in the URI.
Navigate to <your-site>/cars/class:suv/ and you should now see your objects filtered by class.
What we've done here is only the tip of the iceberg when it comes to what's possible with Grav Flex Objects. Flex objects can be extended to lots more like
I hope this helped to get you started with Grav Flex Objects. If you have anything to suggest to make this article better or cool ways to use Flex Objects, be sure to comment below and/or share your knowledge on Grav's Discord server or the Grav Forum.
As always...code on web assassins.


