Create a Wordpress Custom Theme with Genesis Custom Blocks
PublishedJun 2nd, 2022

Are you a Wordpress developer who's spent most if not all of your time developing custom Wordpress themes using what is now called the Classic Editor?
Or maybe you're a new-ish Wordpress dev who entered the Wordpress landscape after Gutenberg was already shipped as the main editor, but found yourself reverting back to the Classic Editor with the now famous Classic Editor Plugin.
There's no shortage of Wordpress devs who are disenchanted with the direction Wordpress has taken towards becoming a "Page Builder" blogging platform. I have been in the past--and still consider myself one of them.
As I discovered recently (albeit a little late to the party), it isn't difficult to join the Gutenberg--blocks-page-builder family.
TL;DR
There are a couple easy ways to create Wordpress Blocks without resorting to setting up under-documented Wordpress CLI's and plugin development environments. Today I'm just gonna focus on one of those ways: Genesis Custom Blocks by StudioPress.
I recommend you install the most recent version of Wordpress as block support is changing rapidly and Genesis Blocks features will likely rely on more recent versions of Wordpress.
If you've never set up Wordpress on your own machine, this tutorial could possibly.
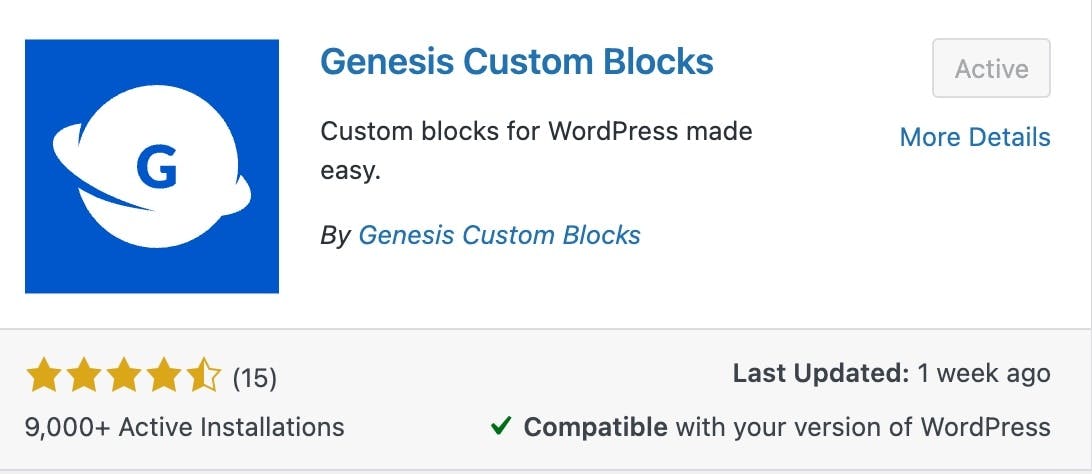
You can easily install the plugin by searching within the Wordpress Admin under Plugins > Add New and searching for Genesis. Locate Genesis Custom Blocks in the results and install and activate it.
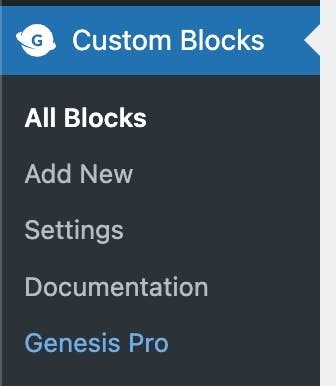
You should now see a Custom Blocks item in the Wordpress Admin sidebar menu.
1. First, click on Add New under Custom Blocks in the Wordpress sidebar menu.
2. Let's give our new block a title of "Hello World".
3. Now we can add our first field by clicking on the + icon.

4. Enter a title for our field of "Hello World" and you should see the slug field automatically populate with a slugified version of our new field title. Because Genesis Custom Blocks does now create a unique ID for each instance of our block, let's create an additional field of type Number and title it "ID" with a slug of id.
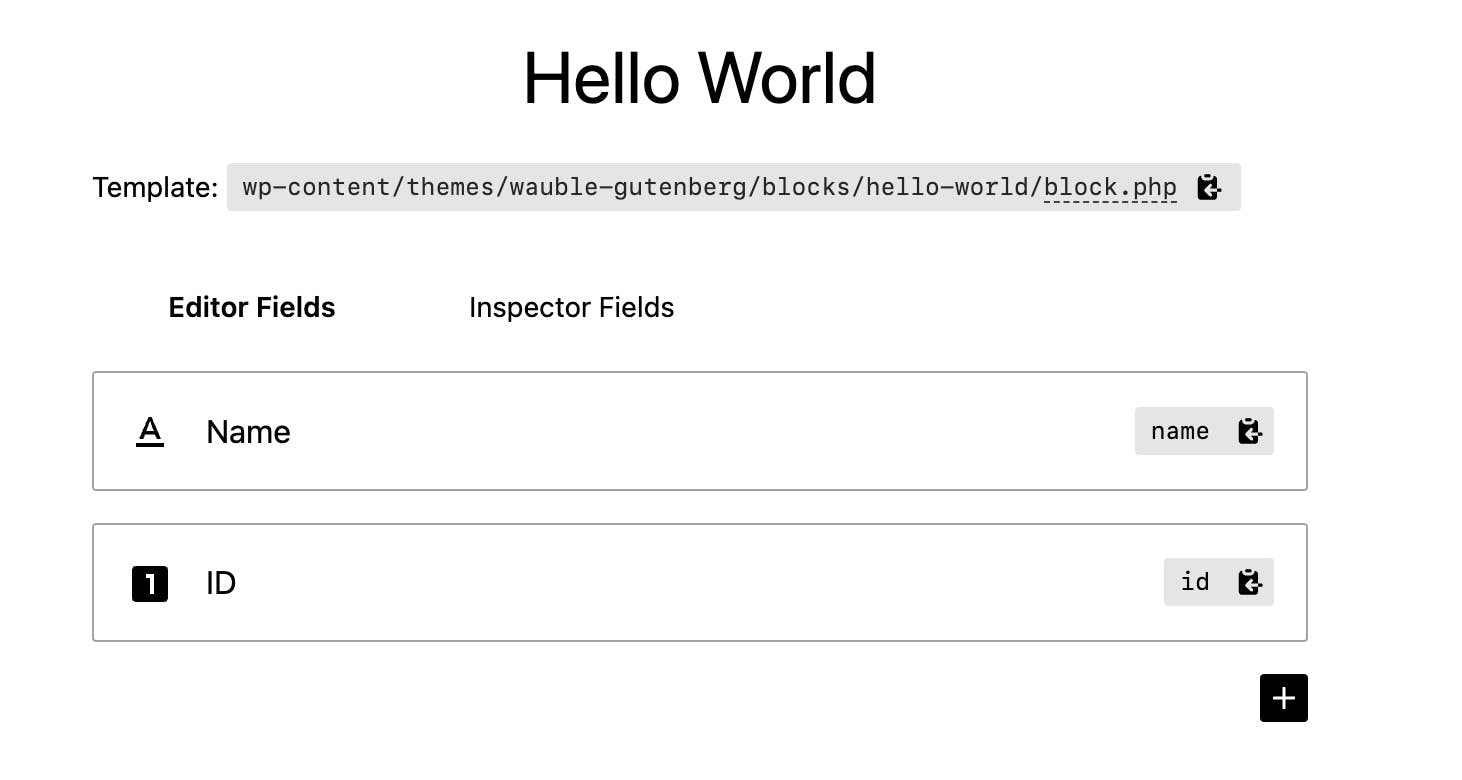
5. Without filling out some of the options settings like default value, placeholder, etc... we're going to publish our new block by clicking Publish in the top right corner. You should now see a blue info box that tells you were in your project Genesis will look for the PHP template for this block.
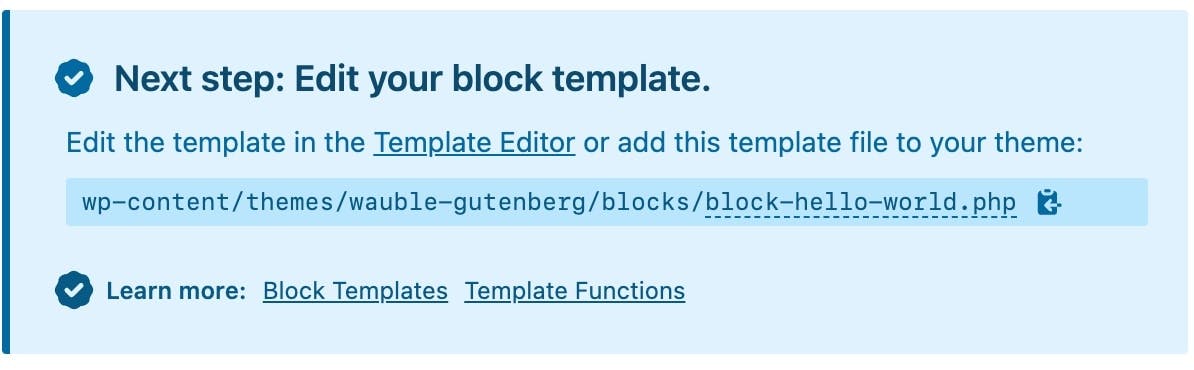
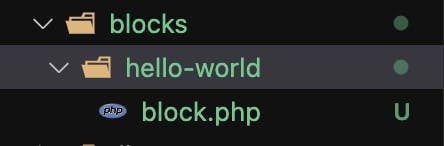
6. We could do just what it says and create our single PHP block template /blocks/block-hello-world.php, or as explained here, we can create a directory inside our /blocks/ directory using the slug of our new block, and then create a block.php file within that for our new block's template.
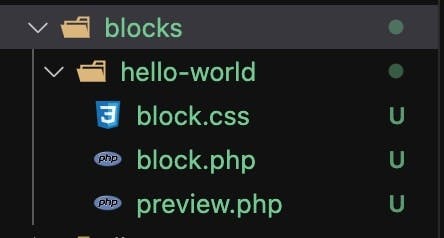
7. Let's also add a preview.php file that's used to preview our new block in the Wordpress Block Editor, and a block.css file that will contain our new block's CSS.
8. Let's now add some basic markup to our
<div class="hello_world" id="<?php block_field('id') ?>">
  <span class="hello_world__text">
    Hello, <?php block_field('name') ?>
  </span>
</div>
Also, copy/paste this same markup into our preview.php so that we have something visually to look at while editing.
Our block is very simple and should display just fine in the Wordpress block editor, but often times you'll likely need to optimize the markup in your preview.php to play nicer with the block editor.
9. We'll also add some styles to our block.css file to test out how we can style our block.
.hello_world {
padding: 20px;
margin: auto;
background: black;
border: 3px solid magenta;
color: white;
max-width: 200px;
text-align: center;
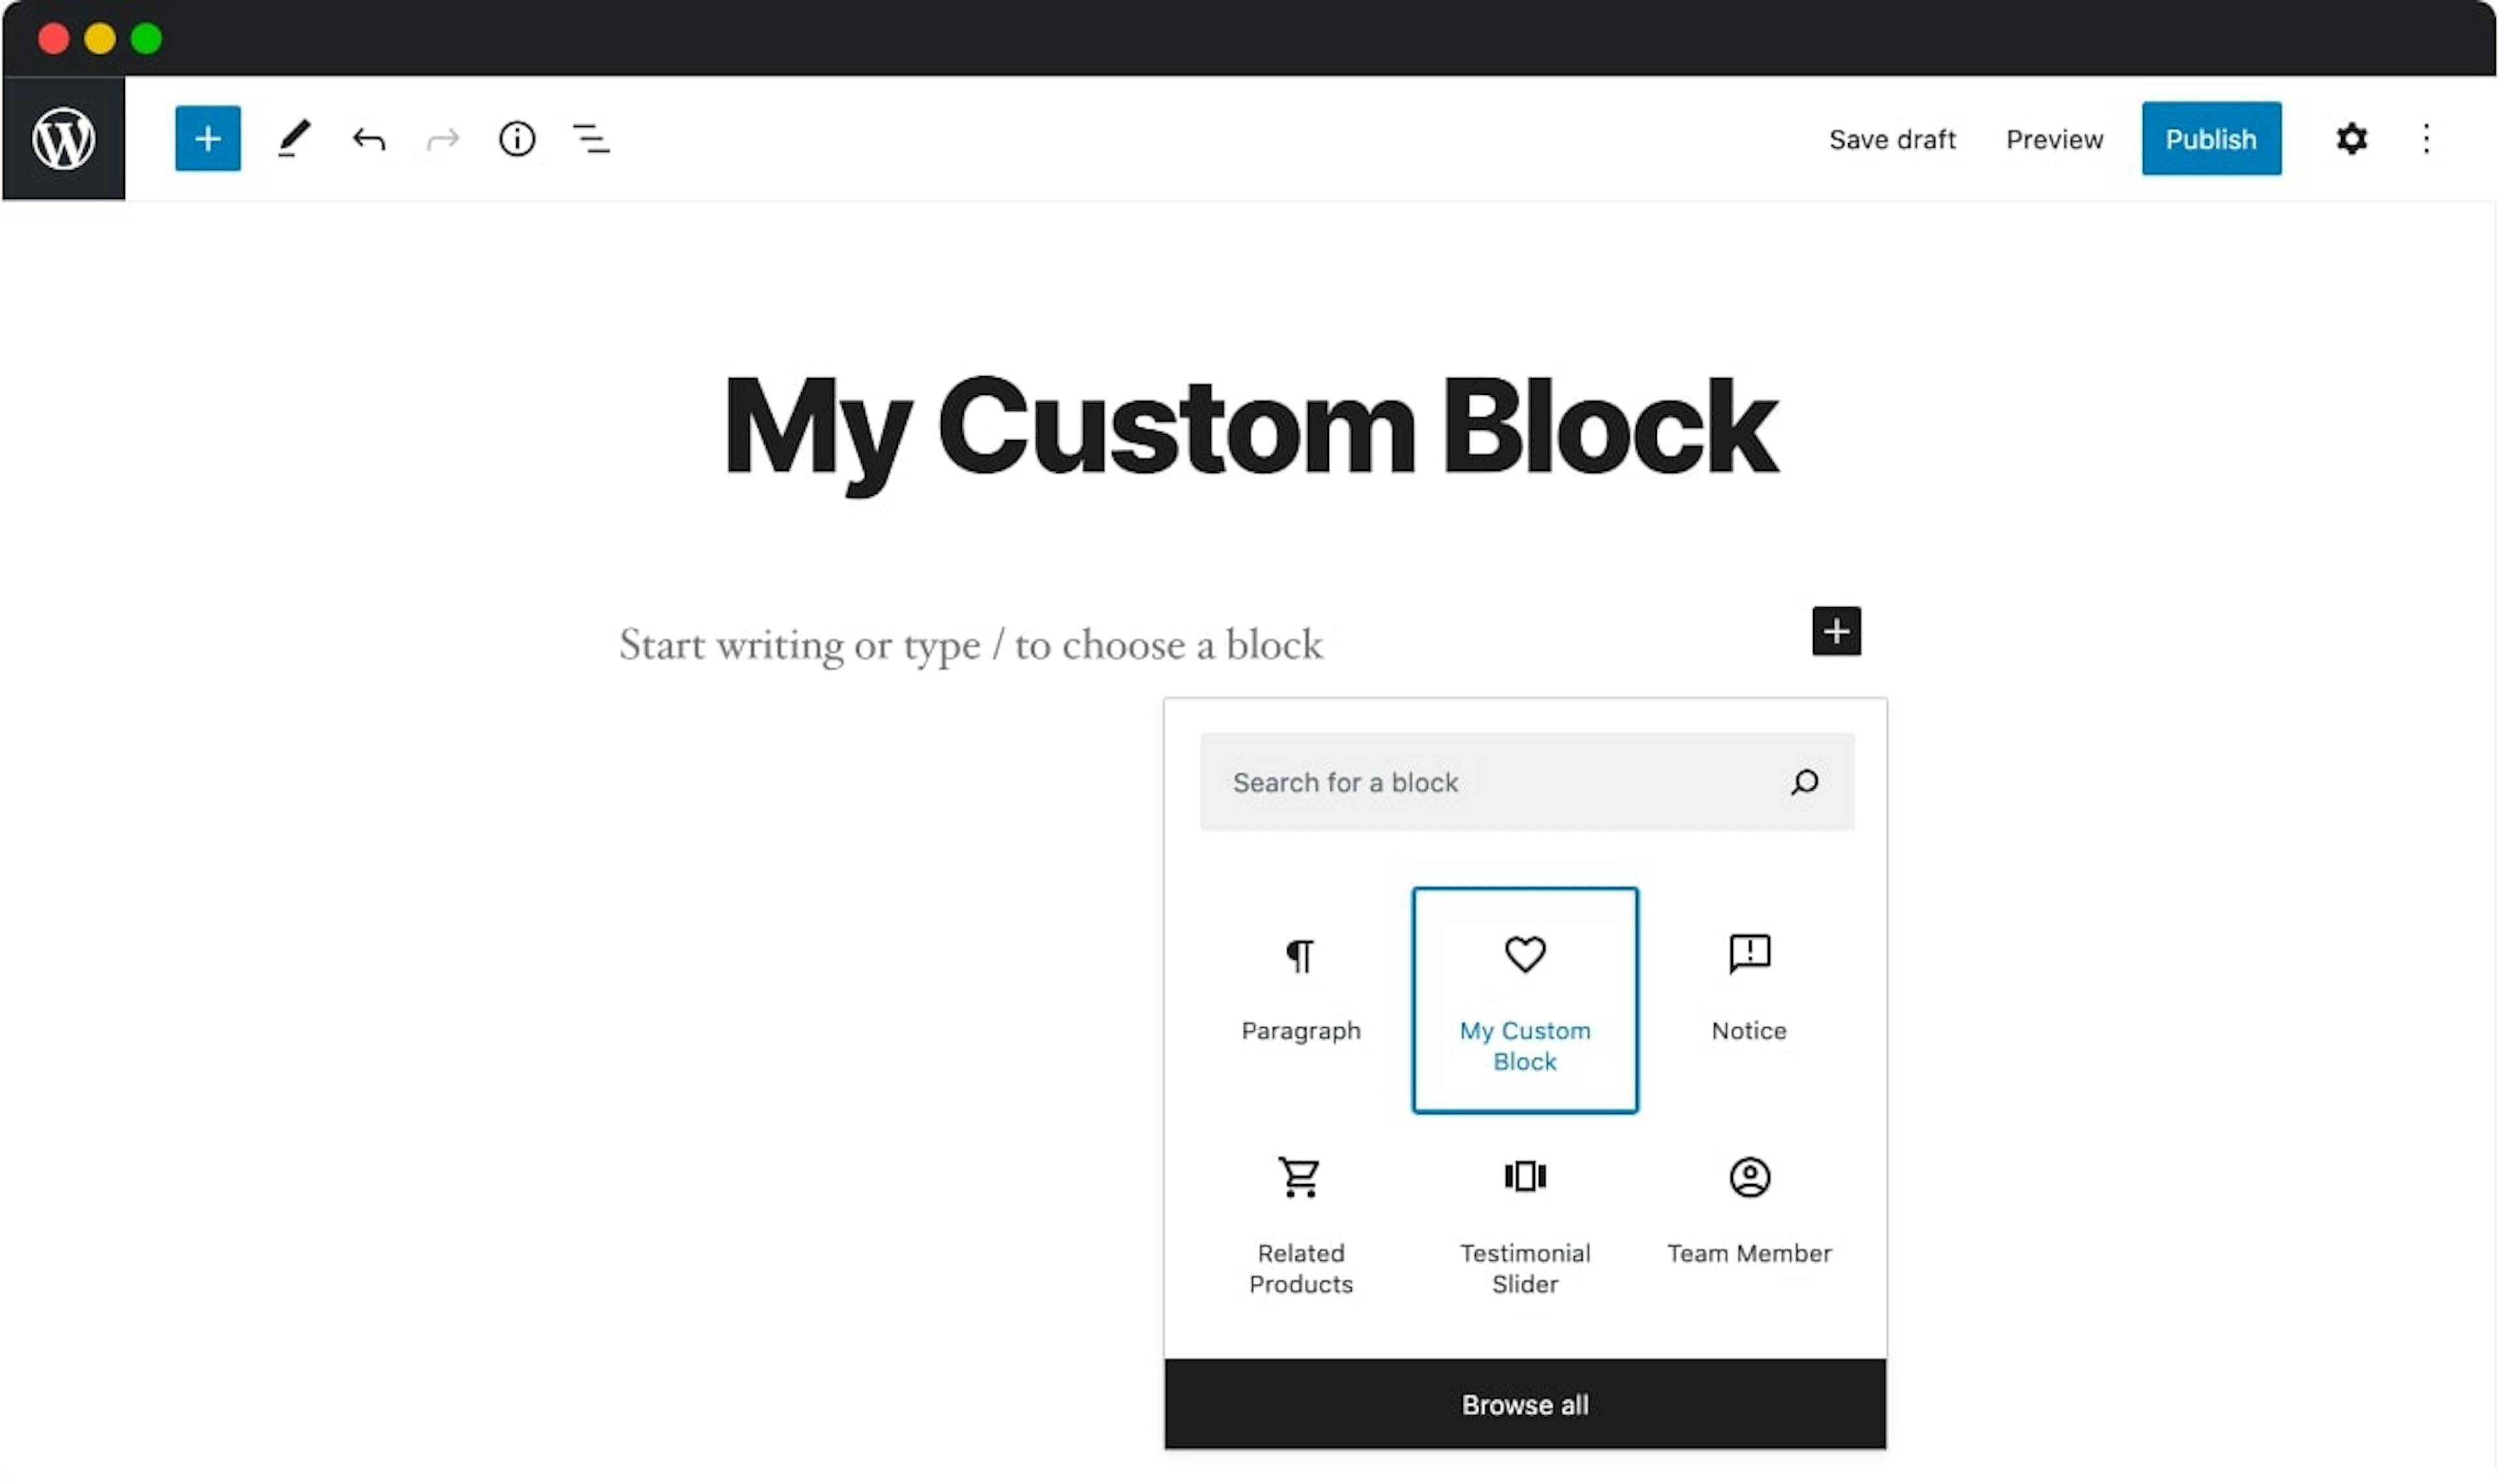
}10. We can now create an instance of our block in the block editor. Navigate to a page where you want to use our new block and add a new block. Fill out the text name and id field and update the page. Click outside of our block and you should see a preview of our new block. Click Update in the top right of the editor and check out the frontend for this page/post and we should see the same presentation of our block that we see in the editor.
That's it!
Hope you enjoyed this little Genesis Custom Blocks walk-through and code on web assassins.


