Add User Registration to Next.js Learn Dashboard Project
PublishedDec 31st, 2023

Next.js 14 is the latest release at the time of this writing.
After moving to React from Vue a couple years back, in 2023 I finally took a deep dive into Next.js. It was probably a chaotic time to jump into the framework, but offered a chance to experience several new features such as Partial Pre-rendering, @next/font, Turbopack, and all the new functionality that came with the new app router.
As unsettling as learning a new framework can be after using something else for years, I'm always excited to see people improving approaches and tools that allow us to develop, ship, and maintain great websites.
If you're a total beginner to Next.js or want to learn what the latest version offers, Next offers a 16 chapter tutorial called Next Learn that "brings you from React to Next.js". Therefore, it's a good idea to have foundational knowledge of React before you begin Next Learn.
This post is a supplemental to Next Learn though, so if you have yet to complete Next Learn, go and complete the course before continuing on.
TL;DR
I always recommend trying to achieve something like this yourself and see how far you can get. I believe that the pain of trying is like a sledgehammer to your memory and is a necessary part of evolving as a developer. That said, sometimes checking out a solution, at least partially, can help you past a hurdle and keep you in the game.
We need to create the following files and folders for our UI and Page so let's do that now. Create the following files:
The rest of our work will be in existing files.
Aside from renaming identifiers from "login" to "register", our register-form.tsx will mostly be borrowed from /app/ui/login-form.tsx with the exception of two new additional input elements for name (Full Name) and our password confirmation.
Paste the following into /app/ui/register-form.tsx
'use client';

import { lusitana } from '@/app/ui/fonts';
import {
  AtSymbolIcon,
  KeyIcon,
  ExclamationCircleIcon,
  UserIcon
} from '@heroicons/react/24/outline';
import { ArrowRightIcon } from '@heroicons/react/20/solid';
import { Button } from './button';
import { useFormState, useFormStatus } from 'react-dom';
import { register } from '@/app/lib/actions';

export default function RegisterForm() {
  const [errorMessage, formAction] = useFormState(register, null);

  return (
    <form action={formAction} className="space-y-3">
      <div className="flex-1 rounded-lg bg-gray-50 px-6 pb-4 pt-8">
        <h1 className={`${lusitana.className} mb-3 text-2xl`}>
          Register by email.
        </h1>
        <div className="w-full">
          <div>
            <label
              className="mb-3 mt-5 block text-xs font-medium text-gray-900"
              htmlFor="name"
            >
              Full Name
            </label>
            <div className="relative">
              <input
                className="peer block w-full rounded-md border border-gray-200 py-[9px] pl-10 text-sm outline-2 placeholder:text-gray-500"
                id="name"
                type="text"
                name="name"
                placeholder="Enter your full name"
                required
              />
              <UserIcon className="pointer-events-none absolute left-3 top-1/2 h-[18px] w-[18px] -translate-y-1/2 text-gray-500 peer-focus:text-gray-900" />
            </div>
          </div>
          <div>
            <label
              className="mb-3 mt-5 block text-xs font-medium text-gray-900"
              htmlFor="email"
            >
              Email
            </label>
            <div className="relative">
              <input
                className="peer block w-full rounded-md border border-gray-200 py-[9px] pl-10 text-sm outline-2 placeholder:text-gray-500"
                id="email"
                type="email"
                name="email"
                placeholder="Enter your email address"
                required
              />
              <AtSymbolIcon className="pointer-events-none absolute left-3 top-1/2 h-[18px] w-[18px] -translate-y-1/2 text-gray-500 peer-focus:text-gray-900" />
            </div>
          </div>
          <div className="mt-4">
            <label
              className="mb-3 mt-5 block text-xs font-medium text-gray-900"
              htmlFor="password"
            >
              Password
            </label>
            <div className="relative">
              <input
                className="peer block w-full rounded-md border border-gray-200 py-[9px] pl-10 text-sm outline-2 placeholder:text-gray-500"
                id="password"
                type="password"
                name="password"
                placeholder="Enter password"
                required
                minLength={6}
              />
              <KeyIcon className="pointer-events-none absolute left-3 top-1/2 h-[18px] w-[18px] -translate-y-1/2 text-gray-500 peer-focus:text-gray-900" />
            </div>
          </div>
          <div className="mt-4">
            <label
              className="mb-3 mt-5 block text-xs font-medium text-gray-900"
              htmlFor="confirm-password"
            >
              Confirm Password
            </label>
            <div className="relative">
              <input
                className="peer block w-full rounded-md border border-gray-200 py-[9px] pl-10 text-sm outline-2 placeholder:text-gray-500"
                id="confirm-password"
                type="password"
                name="confirm-password"
                placeholder="Enter password"
                required
                minLength={6}
              />
              <KeyIcon className="pointer-events-none absolute left-3 top-1/2 h-[18px] w-[18px] -translate-y-1/2 text-gray-500 peer-focus:text-gray-900" />
            </div>
          </div>
        </div>
        <RegisterButton />
        <div
          className="flex h-8 items-end space-x-1"
          aria-live="polite"
          aria-atomic="true"
        >
          {errorMessage && (
            <>
              <ExclamationCircleIcon className="h-5 w-5 text-red-500" />
              <p className="text-sm text-red-500">{errorMessage}</p>
            </>
          )}
        </div>
      </div>
    </form>
  );
}

function RegisterButton() {
  const { pending } = useFormStatus();

  return (
    <Button className="mt-4 w-full" aria-disabled={pending}>
      Register <ArrowRightIcon className="ml-auto h-5 w-5 text-gray-50" />
    </Button>
  );
}
We're not using this anywhere yet so let's create our page route for /register.
Our /register page route file will look almost identical to our /login route file, but will instead import the Register Form we set up above.
Paste the following in /app/register/page.tsx:
import AcmeLogo from '@/app/ui/acme-logo';
import RegisterForm from '@/app/ui/register-form';
import { Metadata } from 'next';
import Link from 'next/link'
export const metadata: Metadata = {
title: 'Register',
};
export default function LoginPage() {
return (
<main className="flex items-center justify-center md:h-screen">
<div className="relative mx-auto flex w-full max-w-[400px] flex-col space-y-2.5 p-4 md:-mt-32">
<div className="flex h-20 w-full items-end rounded-lg bg-blue-500 p-3 md:h-36">
<div className="w-32 text-white md:w-36">
<Link href="/">
<AcmeLogo />
</Link>
</div>
</div>
<RegisterForm />
</div>
</main>
);
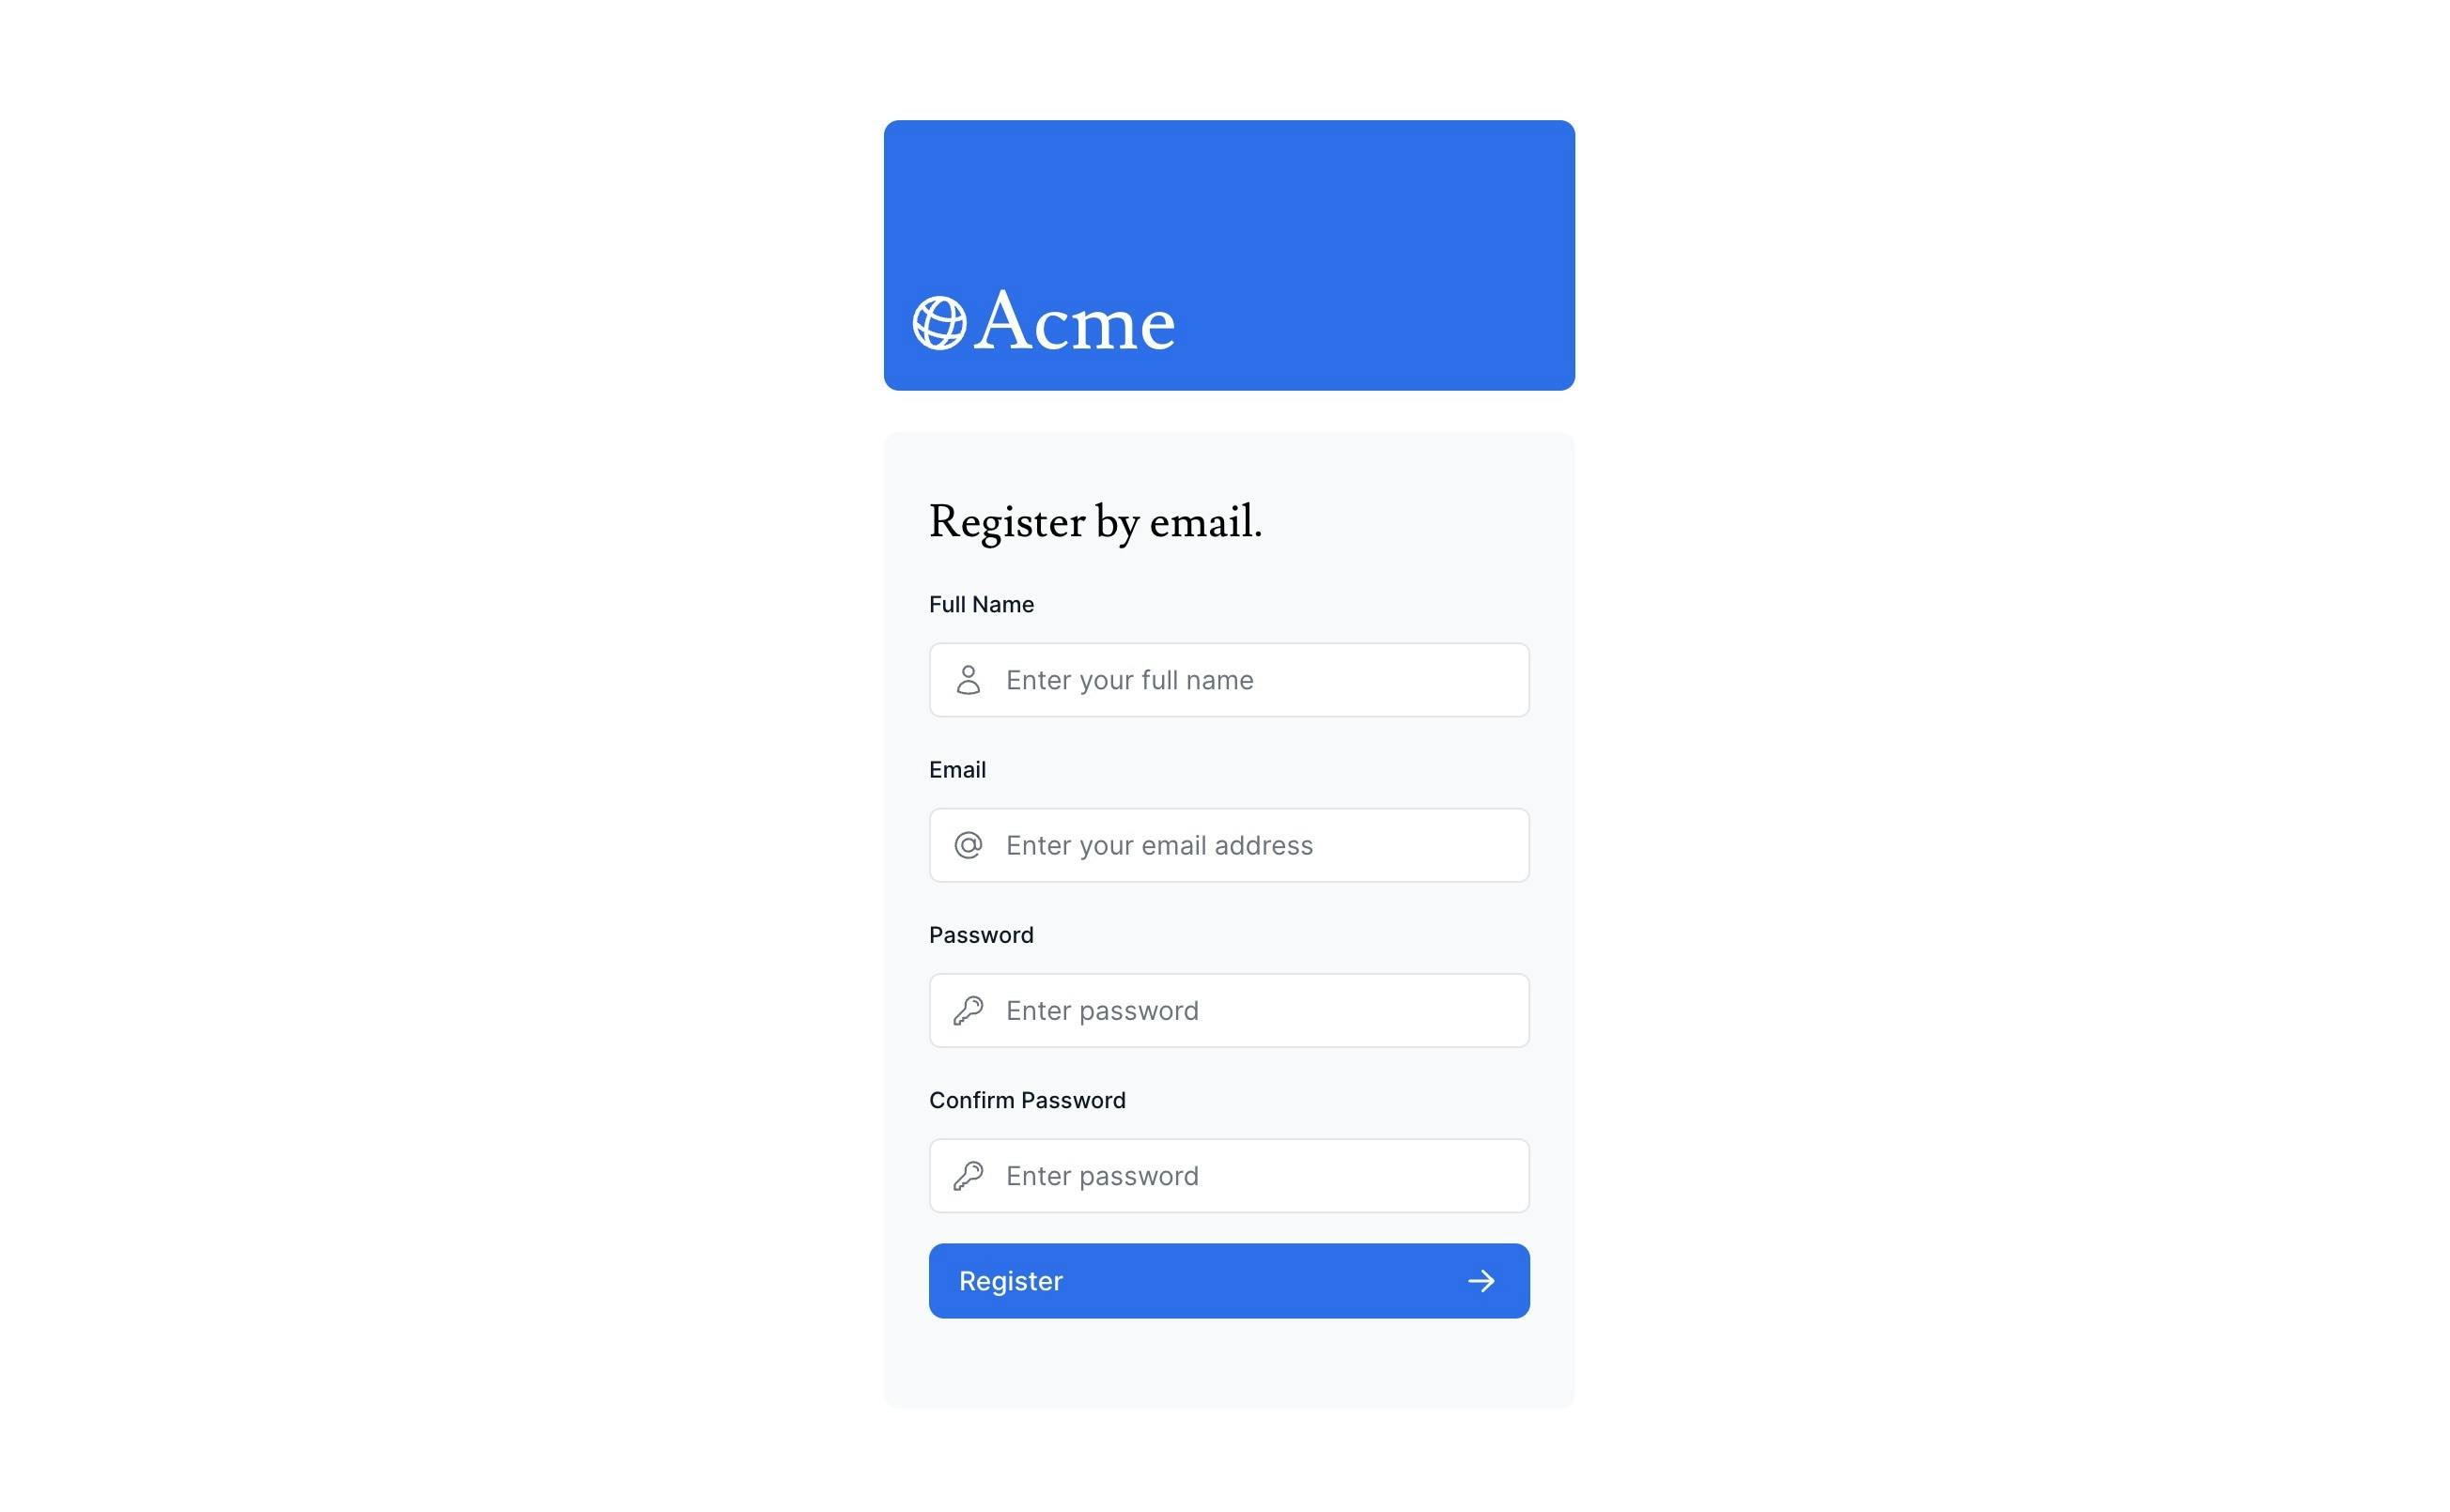
}Navigate to the /register route and you should now see our new register form UI.
Just as we did with all the other forms in our Next Learn dashboard app, we need to create an action to handle the register form submission. Open up /app/lib/actions.ts and let's take a look at the action handler createInvoice().
You may be thinking "why aren't we just referencing the authenticate action handler because this is what login-form.tsx uses".
The reason is that the authenticate handler is special because all it really does is leverage Auth.js's signIn() function, whereas with our register form we're not employing Auth.js and instead just validating our form data and storing our new user in the database. That's more similar to our createInvoice() function.
In /app/lib/actions.ts let's add a zod object for our formData coming from our register form.
...
// imports

const RegisterUser = z.object({
  name: z.string({
    invalid_type_error: 'Please enter your name.',
  }),
  email: z.string({
    invalid_type_error: 'Please enter an email address.',
  }),
  password: z.string({
    invalid_type_error: 'Please enter a password.',
  }),
  confirmPassword: z.string({
    invalid_type_error: 'Please confirm your password.',
  }),
})

...
Zod should already be imported as z so we're good to go with that.
However, we need a couple new imports because we'll be encrypting our user's password that choose in the register form and also setting a UUID that is used as the PRIMARY KEY in our users database table.
Add these below your existing imports
import bcrypt from 'bcrypt'
import { v4 as uuidv4 } from 'uuid';
Okay great, now it's time to define our register form action handler.
In pseudo code we're going to be doing the following logic:
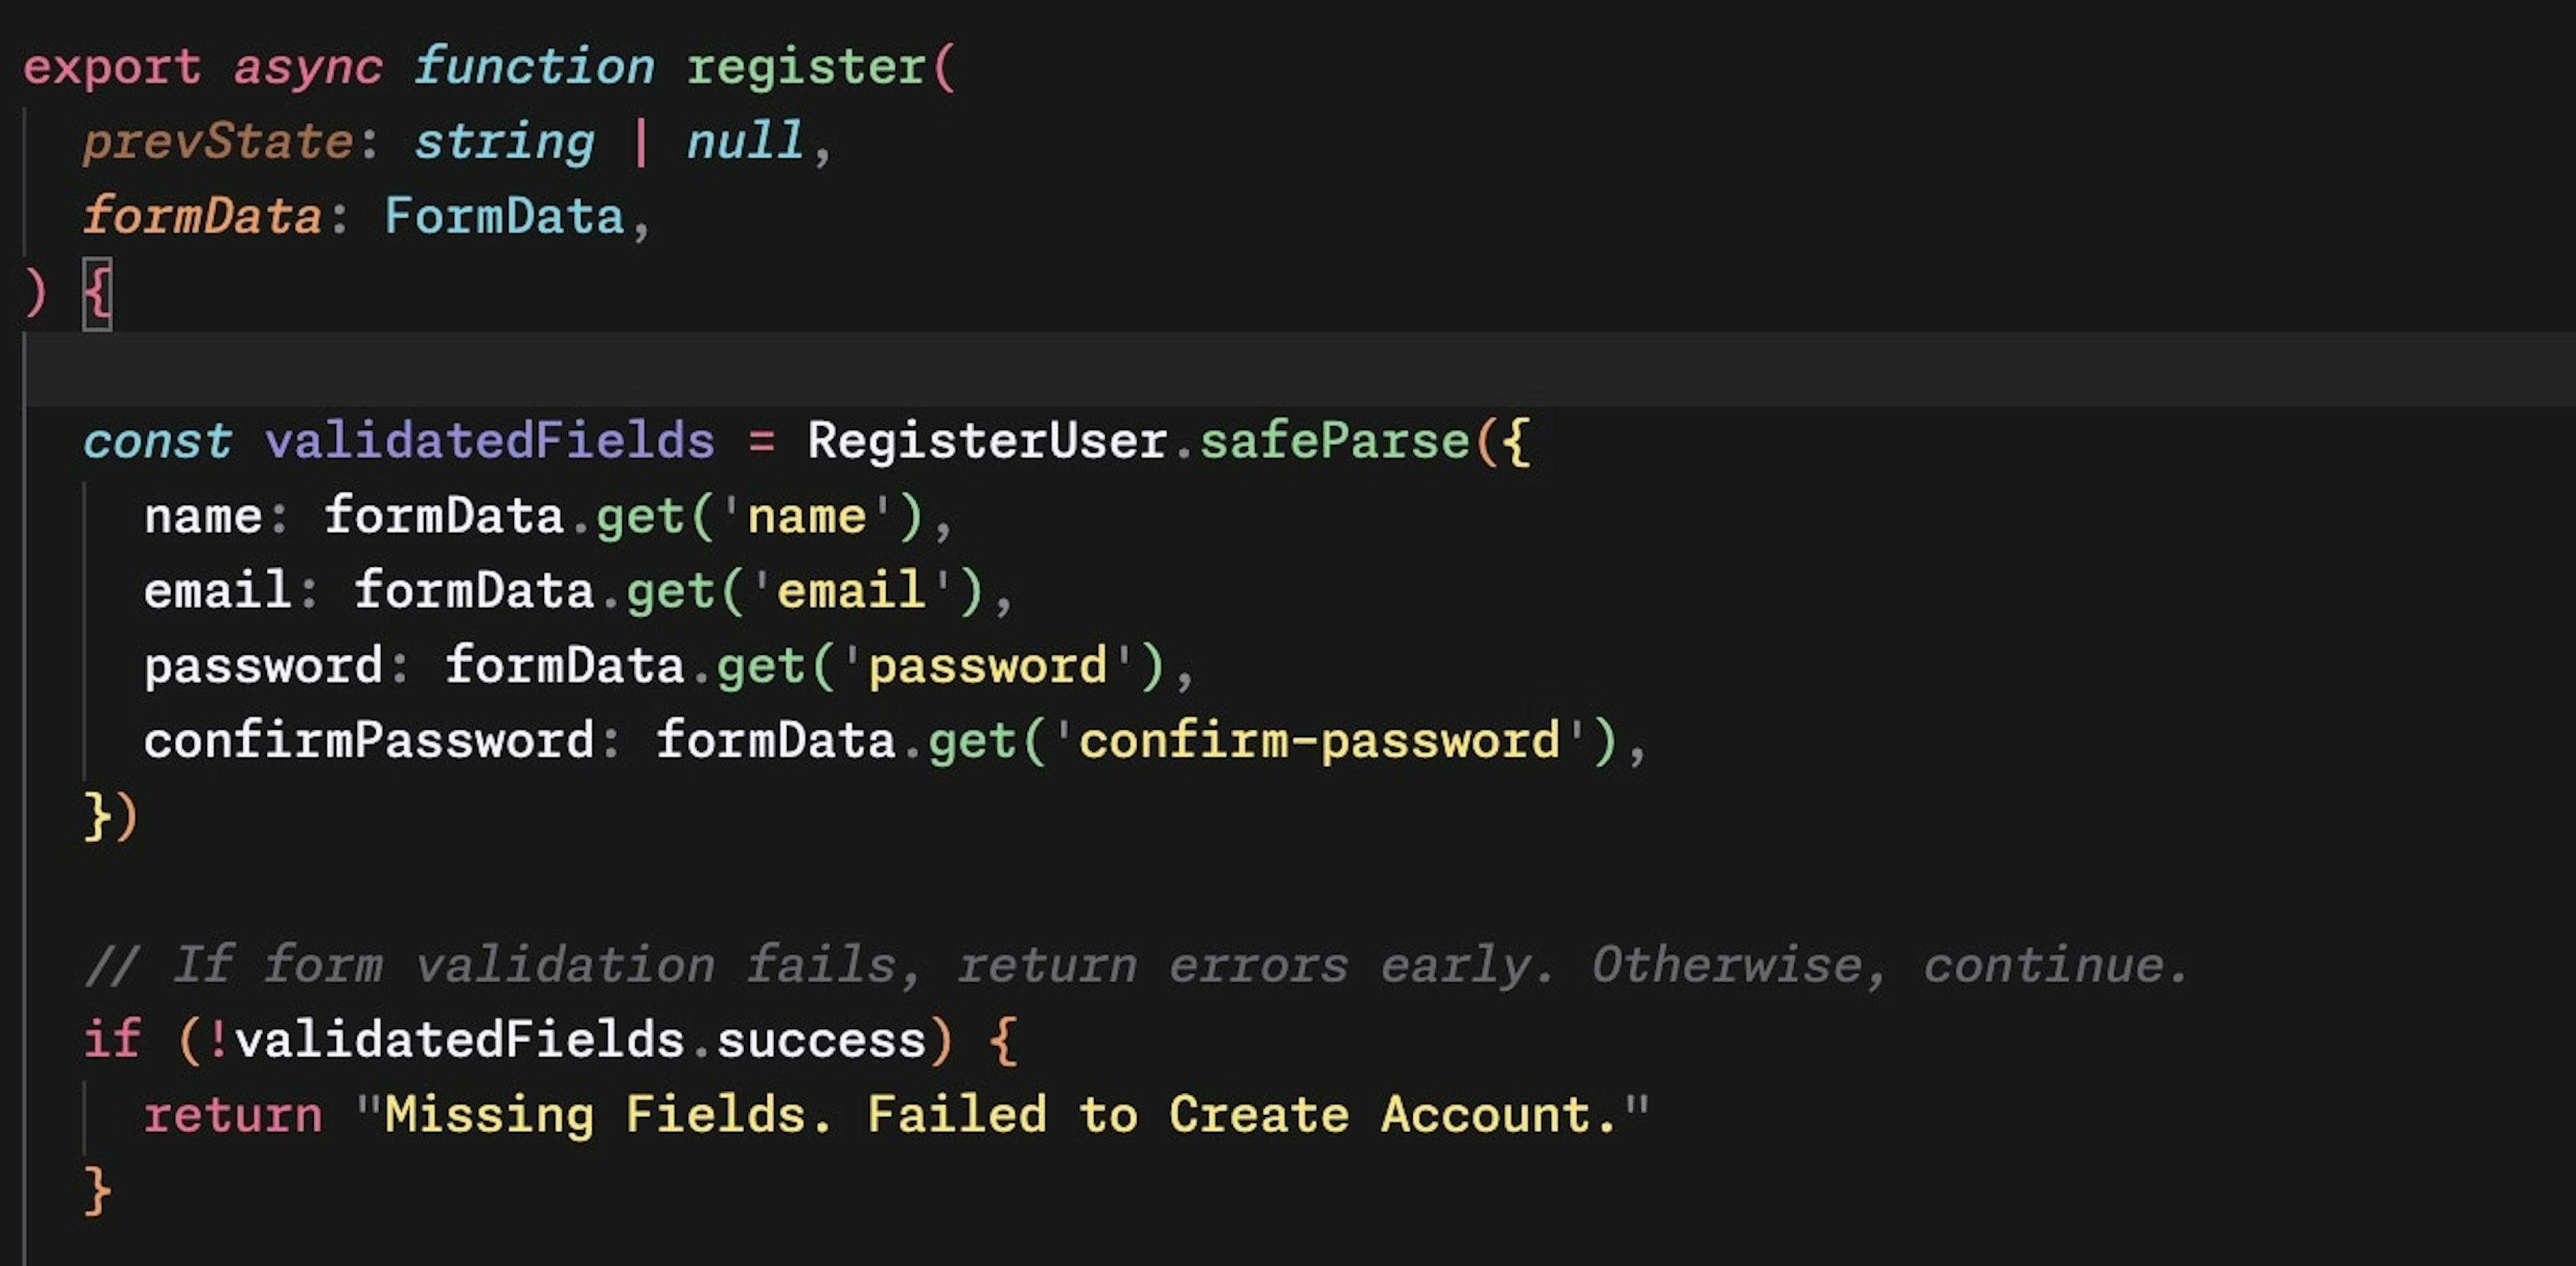
In /app/lib/actions.ts and below our zod object we used above, paste in our function definition for our register action handler:
export async function register(
  prevState: string | null,
  formData: FormData,
) {

  const validatedFields = RegisterUser.safeParse({
    name: formData.get('name'),
    email: formData.get('email'),
    password: formData.get('password'),
    confirmPassword: formData.get('confirm-password'),
  })

  // If form validation fails, return errors early. Otherwise, continue.
  if (!validatedFields.success) {
    return "Missing Fields. Failed to Create Account."
  }

  const { name, email, password, confirmPassword } = validatedFields.data

  // Check if passwords match
  if (password !== confirmPassword) {
    return "Passwords don't match."
  }

  const hashedPassword = await bcrypt.hash(password, 10)
  const id = uuidv4()

  try {
    await sql`
      INSERT INTO users (id, name, email, password)
      VALUES (${id}, ${name}, ${email}, ${hashedPassword})
    `
  } catch (error) {
    return "Database Error: Failed to Create Account."
  }

  redirect('/login')
}
Reload your /register route in the browser and try it out.
The markup for the form we created used client-side browser field validation, but if you enter a mismatched password, you'll get a more specific error sent back in the response from our server action.
Caution: This approach is just one way to do it, and likely not enough to be totally secure in a production environment. Do your own research to ensure the best security if you're using this method in production.
Hope you enjoyed this final post of 2023.
Code on web assassins!


